Polything
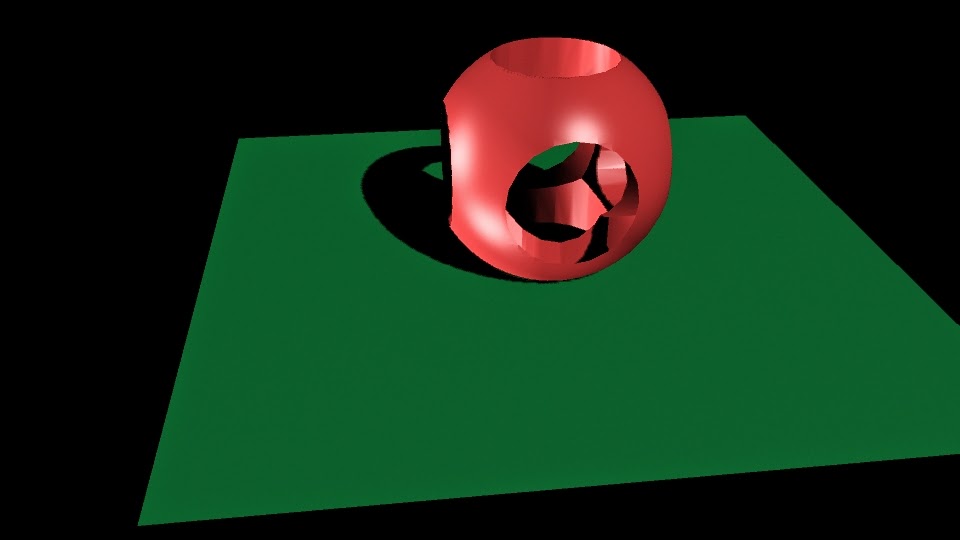
The first project that I am gonna talk about I worked on in December. I started with the simple circle polygon. I then created a cylinder and duplicated that three times. I then moved them to different points in the circle to create a cool effect. I then selected the circle and selected a cylinder. I used the edit mesh tool called bevel to create the holes in the circle. I did this to each of the cylinders and then added a texture. I then lit the scene using three different key lights and I arranged them to show the shadows of the shape. Finally I took a picture of it and uploaded it on here.
Hammer Time
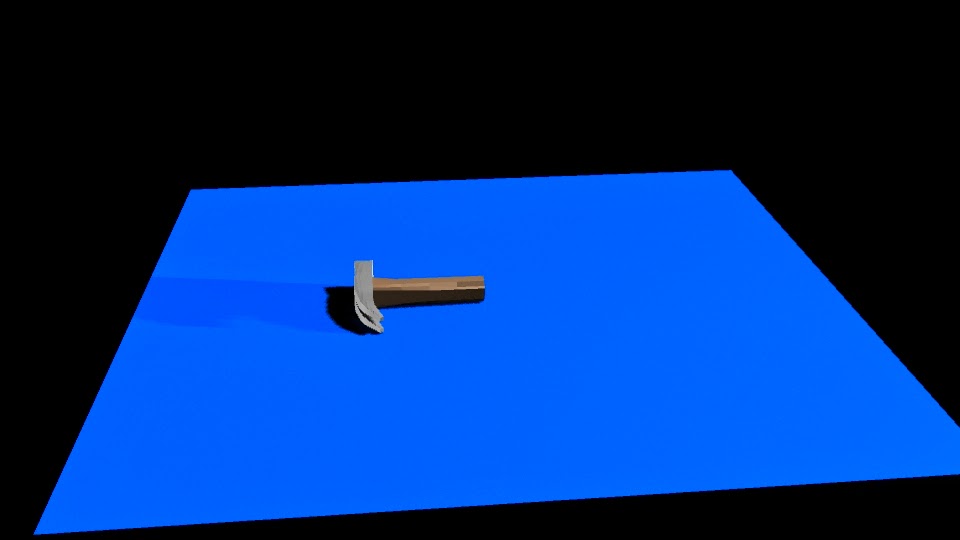
The next project I worked on was my hammer. I took a rectangle and I smoothed out the edges using the vertex tool. I then added the square at top and, while it may have taken me a long time, I added the claw part of the hammer and divided it into two halves. I then worked on the other side and used the poly-extrude tool to make multiple faces. I made the faces different sizes and that created the effect of the top. Finally I applied two different textures to the hammer and rendered out an image.
Revolve
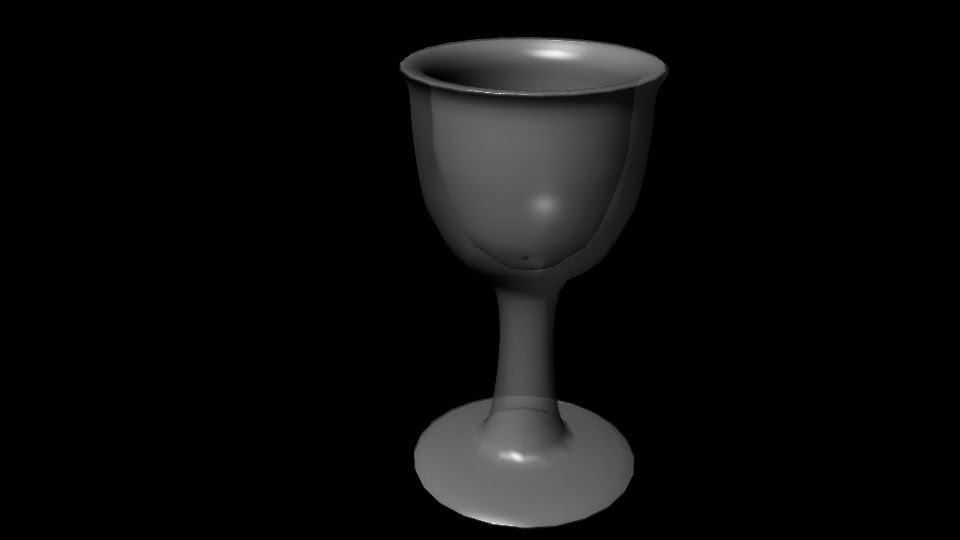
The next project I started after I got back from break. We started by drawing
Nurb points. I then clicked the revolve tool and I got the shape. The shape looked pretty bad so I went back to the original points and moved pretty much all of them around to make the cup look good. I then added a texture and made it partially transparent to match to look of a cup. Finally I rendered out an image and saved it.
Salt Shaker
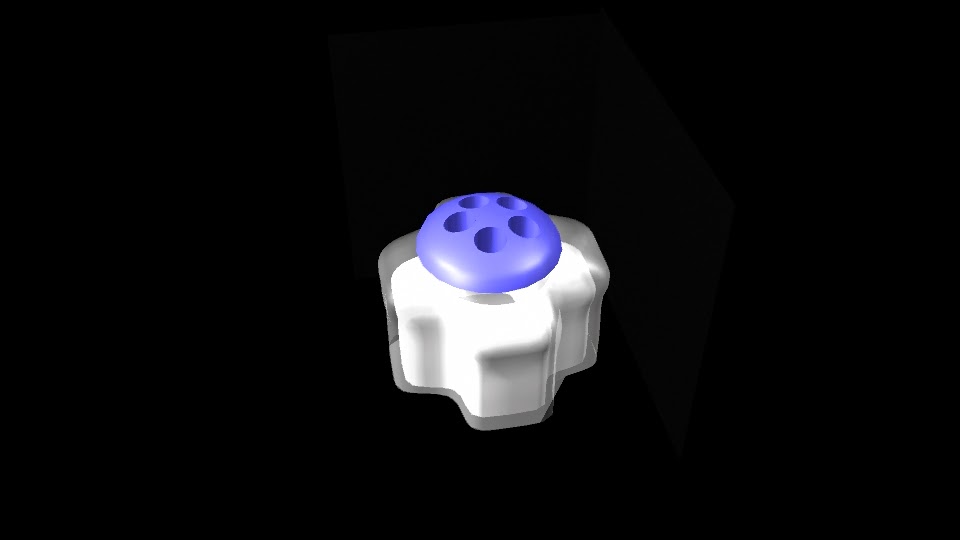
The next project we worked on in class was creating a Saltshaker using a bunch of different tools. We use Nurbs again and created a circle. Then I edited the points into another shape. I then add the outer layer by using the loft button and added a texture. I made it transparent so you could see the salt inside and then duplicated it. I shrunk the duplication so I could make the salt and textured that too. Finally I created a circle and I edited the faces to make the saltshaker appearance on the top. Then I created a square and put the bottom half of the non-edited circle in the square and used bevel, differences. I them applied a texture to that and lined it up with the shaker. Finally I lit the scene and rendered out an image.
Ice scream, you scream, we all scream for Ice Cream.
This project was something we have been working on for about a month. I first designed the shop in December and used simple polygons to design the shop. For the table I used rectangles and then for the stand I used
torus and cylinders. For the bowl and scoop I used spheres and I used the bevel tool as well. Finally I used cylinders for the scoop handle and spheres for all of the ice cream. I then applied different textures to everything and I got to use bump mapping for the ice cream to give it that bumpy look. I then animated it by rotating it 359 degrees. I finally rendered out individual images and put them into after effects and made this video.
Bouncing into focus.
The final project that I finished was a bounce project. This one was a bit harder because we were animating bouncing balls. We started this project by creating the balls. Then we used some footage of us dropping actual balls for the height of the balls and the keyframe to use. We put the keyframes into Maya and then I put the balls at the different heights and went through to edit the bouncing to line up with the height and time of drop. This took a long time to edit and it was one of the harder things I have done. I did feel good about the overall video and product that was created.
 The first project that I am gonna talk about I worked on in December. I started with the simple circle polygon. I then created a cylinder and duplicated that three times. I then moved them to different points in the circle to create a cool effect. I then selected the circle and selected a cylinder. I used the edit mesh tool called bevel to create the holes in the circle. I did this to each of the cylinders and then added a texture. I then lit the scene using three different key lights and I arranged them to show the shadows of the shape. Finally I took a picture of it and uploaded it on here.
 The next project I worked on was my hammer. I took a rectangle and I smoothed out the edges using the vertex tool. I then added the square at top and, while it may have taken me a long time, I added the claw part of the hammer and divided it into two halves. I then worked on the other side and used the poly-extrude tool to make multiple faces. I made the faces different sizes and that created the effect of the top. Finally I applied two different textures to the hammer and rendered out an image.
 The next project I started after I got back from break. We started by drawing Nurb points. I then clicked the revolve tool and I got the shape. The shape looked pretty bad so I went back to the original points and moved pretty much all of them around to make the cup look good. I then added a texture and made it partially transparent to match to look of a cup. Finally I rendered out an image and saved it.
 The next project we worked on in class was creating a Saltshaker using a bunch of different tools. We use Nurbs again and created a circle. Then I edited the points into another shape. I then add the outer layer by using the loft button and added a texture. I made it transparent so you could see the salt inside and then duplicated it. I shrunk the duplication so I could make the salt and textured that too. Finally I created a circle and I edited the faces to make the saltshaker appearance on the top. Then I created a square and put the bottom half of the non-edited circle in the square and used bevel, differences. I them applied a texture to that and lined it up with the shaker. Finally I lit the scene and rendered out an image.
No comments:
Post a Comment