Tuesday, May 19, 2015

We are all Little Arsonists and Lets learn how to Chroma-key

Well these past few weeks have been busy, but the projects have been more fun. We just started a special effects unit and I have been quite busy. the projects below are the three things I created all using After Effects. I also included a project using the green screen.

The first one I followed a tutorial and created a basic explosion using an explosion kit that I got off of my teacher. I then followed the rules and made this video. I think it one of my favorite projects and I felt really good about it. I really enjoyed getting to create something that I have seen so much on movies that I love. It really put the practical application into the skills I was learning.


This next project was us putting the skills we learned in the video to a practical skill with a still image. I followed the video a little bit but tried to free hand most of it by myself. I like this project it is not my favorite but I do like it. I think I could have done better and spent more time on it but I think it turned out fine how it is.


This final project is the most practical application of the skills we learned because we took moving shots and added the explosion over actual footage. It is my second favorite SFX project and I think had I had more time to work on this I would make it better and add in better effects as well as try to use the tutorial to guide my work a lot better.


This is my Chroma key or green screen blog that I used a photo of me in front of the green screen added in five color keys to erase the green. I then added in a chocker to create a better matte around my head. I then used Key light 1.2 to get rid of the green space, reduce transparency and to create a sharper edge around my footage while keeping in the specific details of my image and hair.


This is it for my Animation class guys.

      Well Guys this is my final project for Animation. It was a great project and I am very proud of how this turned out. Now before I tell you all about the process I wanna talk about some very important people to this project. These two awesome girls Jessica Love and Greta Lundy. They made the whole process go smooth and those two girls did an excellent job with everything they did.I like to call this team the dream team 2K15 and it truly was the dream team. We got along really well and we all divided up the work so that everyone had an equal job. I will definitely miss this class and all the things I have learned. Not let's start talking about what this project took. 

It all started with an idea.

       Now I don't exactly remember who came up with the original idea of a robot but we all kinda liked the idea of it. We then decided to cheese the entire project by making the theme first contact. This project all started with the idea to make the fist contact with humans and robots. We then storyboarded the project out in six simple shots so that the amazing Greta could start designing the robot. Since she is so awesome she offered god easing the entire robot on her own this gave me and Jessica a chance to green screen and design the intro sequence. Jessica started not he grid while I search for the best background. I found an image that I likes but it needed to be lighter to fit the lighting behind Jessica so I lightened the photo up while they both started their main job. Next up, since none of us wanted to act, we played nose-goes for who had to act. Jessica lost and she got ready to film. Jessica and I headed downstairs to set up lighting and get the camera set to film. 

Now to get rid of all that green.


We set up the lighting of the green screen to avoid shadows but it didn't work too well. So after we filmed all of her shots I took the footage upstairs and started my main job. I started to key out the green screen background from all three of the shots of Jessica. I first started with a simple color key and selected the darkest color I could see. I then would edit that color out. I repeated that process about 4-6 times. I then added a simple chocker around Jessica to make the background and her flow better. I then used Key-light 1.2 to get rid of the green. Looking at the image I realized that my friend had become see through and I needed to fix that problem. I adjusted my black and white levels to make her image sharper while keeping the details around her to keep the images realistic look. I then repeated this process on every one of the green shots and this took me quite some time as each one turned out very transparent and Jessica started to vanish more and more. I finally got to add in the background and it started looking more like a realistic thing. Around this time Greta had finished the robot and it was time to combine our projects into one project.

Let's work together

Greta had made the background for the robot transparent and after a long rendering session the images were ready. We made a jpeg sequence and then added in my background as well as the clips of Jessica from earlier. This was actually pretty quick we just had to make the shots line up and render yet again. The next step for me was to add the shots to Final Cut Pro and edit together a video. I edited all the shots so that it flowed and then added in a background music to fit the theme. Finally I rendered out a video to both a flash drive and YouTube. I was finally done. Now lets reflect a little bit on my year in Animation with Netterville and this final project.

Reflect on the year and the project that has been.

The scope of this project was to mix real life with 3D animation and add in the green-screen effect to create a project. Now in less technical jargon that means mixing a real shot with something created on the computer and also adding in a different background. The first thing we did was reunite the dream team and started brainstorming our ideas. Someone mentioned a robot and person having the first encounter between the two. Someone else suggested that we cheese the entire thing up about 100% and started storyboarding. We only used six shots and then the teams divided up to do their individual projects. Greta moved towards designing the robot, Jessica started the intro sequence, all while I designed the background and keyed out the chromakey to add in the edited background. The next step was rendering out videos from After Effects. Next we added the finished robot comps to the videos of Jessica and rendered out yet again. Finally we edited the shots in Final Cut Pro and added in the background music. I learned a lot about lighting green screens and keying out robots to fit in an already created comp. I learned a lot professionally speaking about dividing the work out and communicating on who's doing what in order to get everything done in a timely manner. Next time I would spend more time editing the lighting to make Jessica look less orange and spend more time to make the green screen edit look more realistic and clean. I really liked how we divided the project up and would definitely do that again. I can draw the usage of green screen and After Effects as well as all of the techniques that I have learned this year to continue on into my future years in video. I will really miss this class and all I have learned from it


Saturday, May 16, 2015

Ah yes the good Old Gory Days

Hi it has come to the time of year when I start reminiscing about the year that has been and the final video project of my sophomore year. For my final I was in a group with Madison, Tim, and Carter. It was a lot of fun and I really like how the project tuned out. Now fro my reflection.

Reflecting on the past.  

The main point of our last project was to combine all the skills I learned this year into one big project in which we incorporated the line "lights out", a water bottle, and an obvious source of light. We decided on a cop video because it included all of the parts in a humorous way. We then wrote the script and storyboarded the entire thing out. We then set costumes and filming dates before the weekend came. When school started back up the next week we started up our filming. We started with the flex theater shots and then the hall shots and then the dead body shots. We then filmed voice-overs and editing started. I tried to make quick edits and remember to come in late and leave early. I then exported the video and i was done with my final project of the year. I learned a lot about editing from this project and I also learned a lot about getting the audio levels just right. I also learned a lot about working together and how frustrating it can be when the group doesn't listen to your ideas. I would have maybe been more collaborative about the script then how it was this time. I liked the shots we got and I would have kept that the same. I can draw a lot about collaboration and shots through this project. I think this is one of my favorite projects and I will miss this class next year.

Sunday, April 26, 2015

Special Effects

Todays post is all about special effects and the change that have occurred over time. So sit back and relax as I outline all of the different types of special effects.

 Magician’s Medium:
 What exactly is the Magician's Medium? This is a question you may be asking. Well to put it in simplest terms the Magicians Medium is an old time effect used by film makers back in the old days. They would expose film twice in order to add special effects to the film. They also used to paint panes of glass that would sit over the image to add in the special effect

 Williams Process:
What background did the Williams process use? The Williams process, also known as the "Black" screen, is another technique that uses double exposing the film to add in special effects. This was often used for a moving matte and on special effects for which the subject moved during. It would shoot the film against a black screen and then reshoot it with the footage they wanted behind them.

Dunning Process: 
Why invent a new process? Well the Williams process had many problems with shadows so a new system was invented. This process used color lights and a colored background to add in special effects. This process did not however work with color film. 

Yellow Screen:
How did this process work? Well people kept trying to invent new ways to do special effects and they invented a camera that used a sodium prism to refract light and add special effect. This prism technique provided a very handy traveling matte. Sadly only one of these cameras were ever made and the only people that owned it were you guessed it, Disney. They didn't rent this camera out for cheap however and people kept looking for new techniques. 
    Color Matte Difference: 
    How did this process compete with the others? Well this process was another use blue-green  screen in the background to add in special effects later. This process was extremely complicated a required 12 different systems to complete the effect. This process was a lot harder than the other processes, yet it was the widest used process. This process was in use for over 40 years. 

    Digital Process: 
    What exactly does this process require to be completed? The digital process was brought around as an easier method to replace footage and create a movable matte. This is useful with the digital technology of today like motion sensors  digital cameras, and digital technology that can add in special effects in quicker time than ever before. This is a popular process for its easier technique and less time consuming process.  

    Thursday, February 26, 2015

    Snow in Kansas!

    So as the weather in Kansas was frightful and I still had to be at school, so we started working on a new project in Maya to incorporate the cruddy weather. We created a snow scene. We would start by drawing an abstract shape and then repeat the shape multiple times over and over until we had something that looked like a snowflake, unique and different. We then repeated this process over and over again until we had about 7-10 snowflakes. We then created a wall and and beveled out a window from this wall. We then applied a background and animated the snowflakes in a path down. You just repeat those motions over and over and you are done and ready to render.

    Saturday, January 31, 2015

    Tools of the Trade

    Polything 

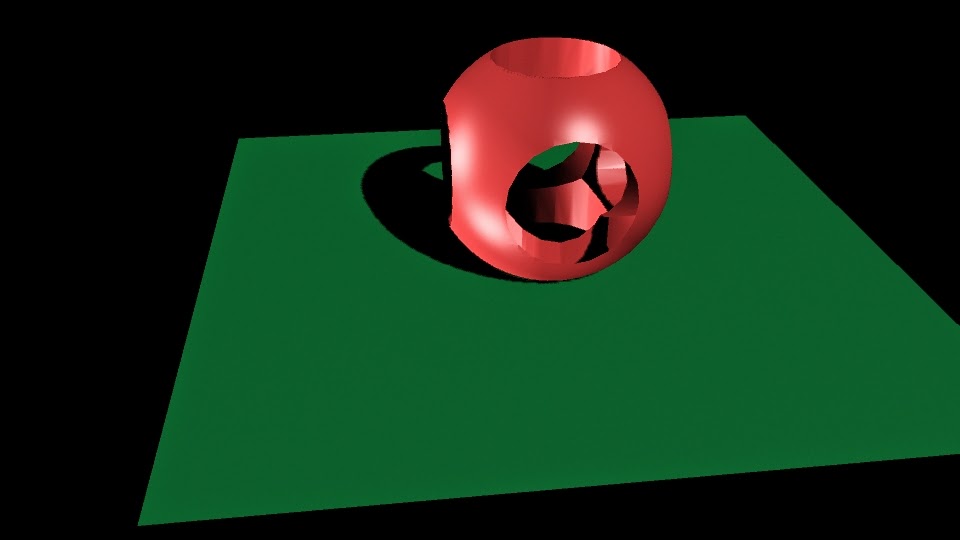
    The first project that I am gonna talk about I worked on in December. I started with the simple circle polygon. I then created a cylinder and duplicated that three times. I then moved them to different points in the circle to create a cool effect. I then selected the circle and selected a cylinder. I used the edit mesh tool called bevel to create the holes in the circle. I did this to each of the cylinders and then added a texture. I then lit the scene using three different key lights and I arranged them to show the shadows of the shape. Finally I took a picture of it and uploaded it on here.

    Hammer Time
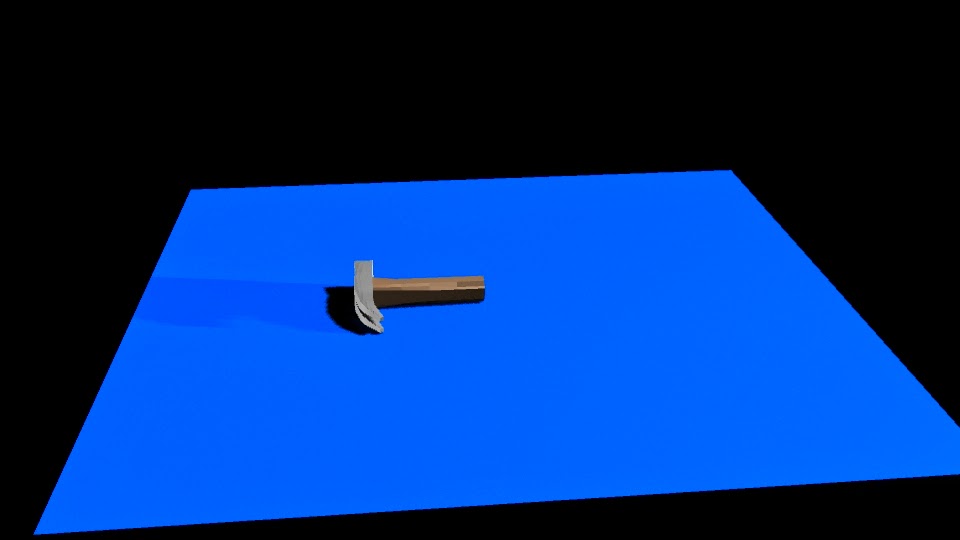
    The next project I worked on was my hammer. I took a rectangle and I smoothed out the edges using the vertex tool. I then added the square at top and, while it may have taken me a long time, I added the claw part of the hammer and divided  it into two halves. I then worked on the other side and used the poly-extrude tool to make multiple faces. I made the faces different sizes and that created the effect of the top. Finally I applied two different textures to the hammer and rendered out an image.

    Revolve
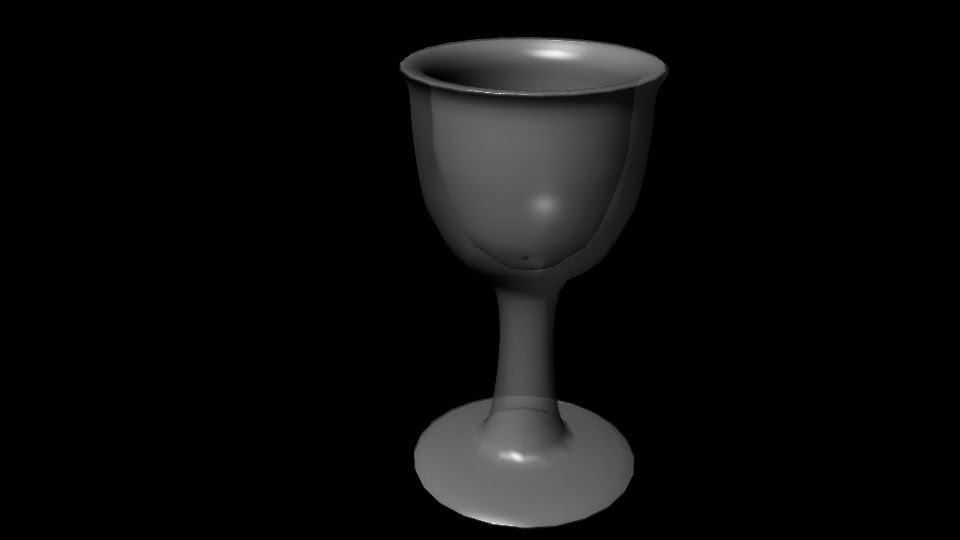
    The next project I started after I got back from break. We started by drawing Nurb points. I then clicked the revolve tool and I got the shape. The shape looked pretty bad so I went back to the original points and moved pretty much all of them around to make the cup look good. I then added a texture and made it partially transparent to match to look of a cup. Finally I rendered out an image and saved it.

    Salt Shaker
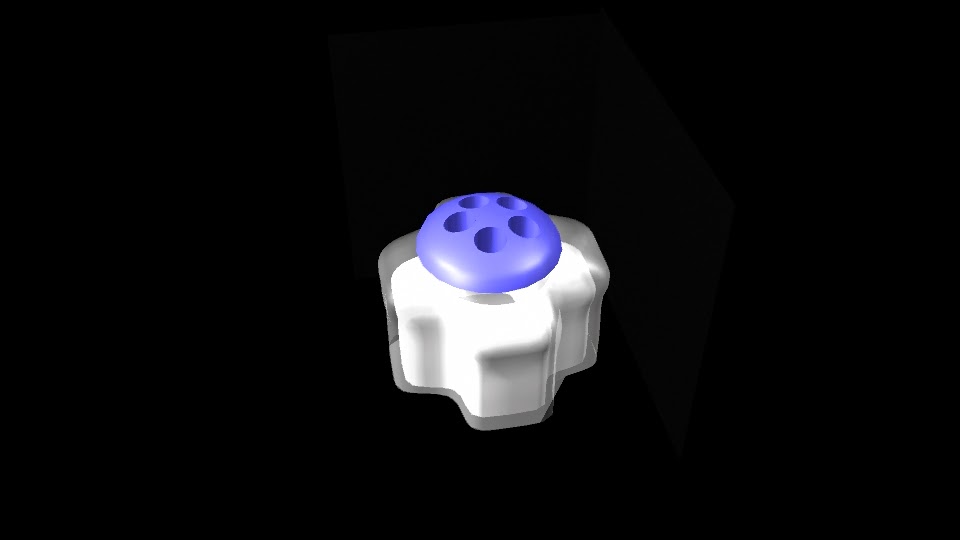
    The next project we worked on in class was creating a Saltshaker using a bunch of different tools. We use Nurbs again and created a circle. Then I edited the points into another shape. I then add the outer layer by using the loft button and added a texture. I made it transparent so you could see the salt inside and then duplicated it. I shrunk the duplication so I could make the salt and textured that too. Finally I created a circle and I edited the faces to make the saltshaker appearance on the top. Then I created a square and put the bottom half of the non-edited circle in the square and used bevel, differences. I them applied a texture to that and lined it up with the shaker. Finally I lit the scene and rendered out an image.

    Ice scream, you scream, we all scream for Ice Cream.

    This project was something we have been working on for about a month. I first designed the shop in December and used simple polygons to design the shop. For the table I used rectangles and then for the stand I used torus and cylinders. For the bowl and scoop I used spheres and I used the bevel tool as well. Finally I used cylinders for the scoop handle and spheres for all of the ice cream. I then applied different textures to everything and I got to use bump mapping for the ice cream to give it that bumpy look. I then animated it by rotating it 359 degrees. I finally rendered out individual images and put them into after effects and made this video.


    Bouncing into focus.


    The final project that I finished was a bounce project. This one was a bit harder because we were animating bouncing balls. We started this project by creating the balls. Then we used some footage of us dropping actual balls for the height of the balls and the keyframe to use. We put the keyframes into Maya and then I put the balls at the different heights and went through to edit the bouncing to line up with the height and time of drop. This took a long time to edit and it was one of the harder things I have done. I did feel good about the overall video and product that was created.