Tuesday, April 21, 2015

Tuesday, March 3, 2015


Sunday, March 1, 2015
Thursday, February 26, 2015
Snow in Kansas!
Saturday, January 31, 2015
Tools of the Trade
Polything
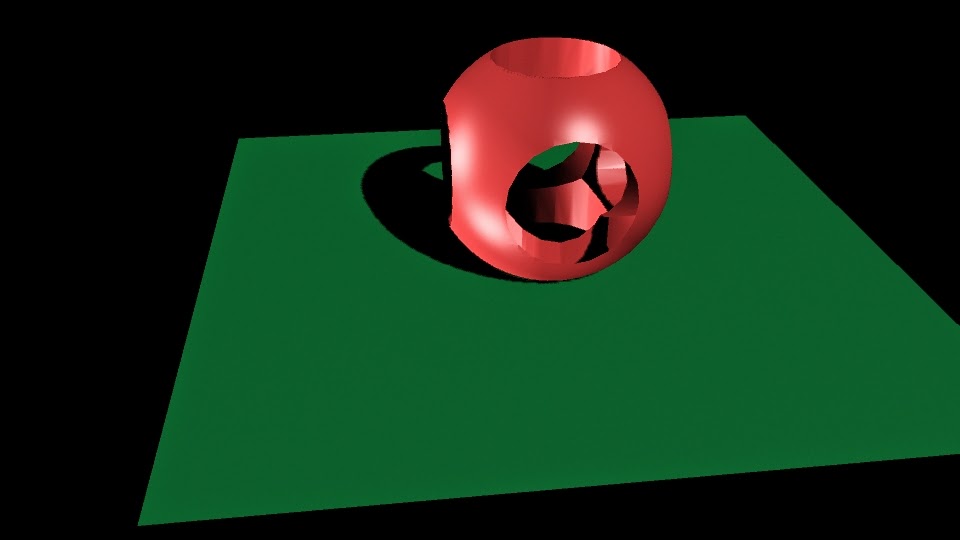 The first project that I am gonna talk about I worked on in December. I started with the simple circle polygon. I then created a cylinder and duplicated that three times. I then moved them to different points in the circle to create a cool effect. I then selected the circle and selected a cylinder. I used the edit mesh tool called bevel to create the holes in the circle. I did this to each of the cylinders and then added a texture. I then lit the scene using three different key lights and I arranged them to show the shadows of the shape. Finally I took a picture of it and uploaded it on here.
Hammer Time
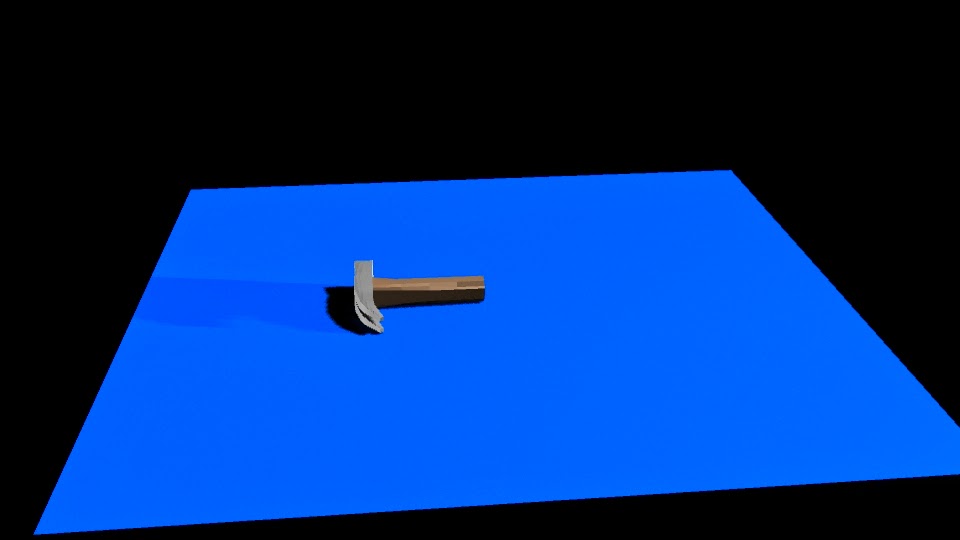 The next project I worked on was my hammer. I took a rectangle and I smoothed out the edges using the vertex tool. I then added the square at top and, while it may have taken me a long time, I added the claw part of the hammer and divided it into two halves. I then worked on the other side and used the poly-extrude tool to make multiple faces. I made the faces different sizes and that created the effect of the top. Finally I applied two different textures to the hammer and rendered out an image.
Revolve
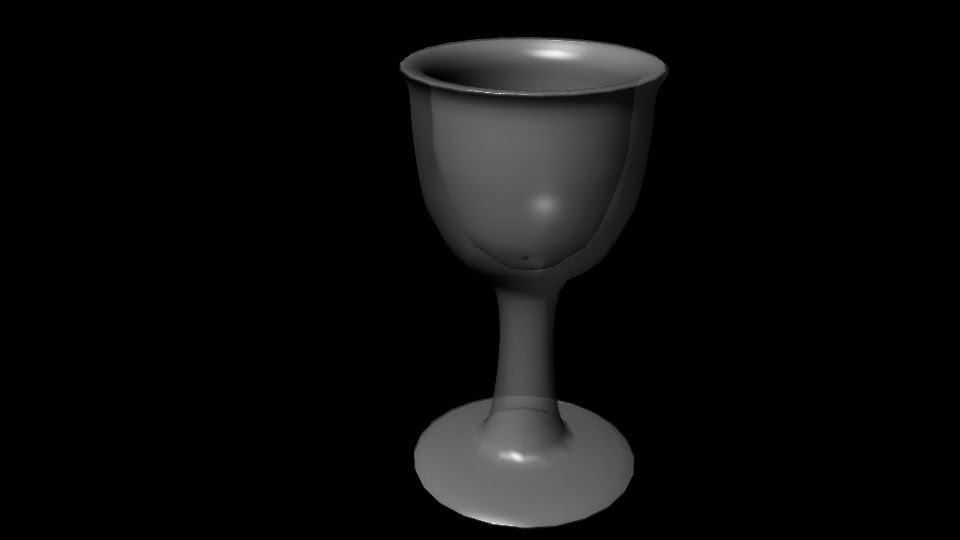 The next project I started after I got back from break. We started by drawing Nurb points. I then clicked the revolve tool and I got the shape. The shape looked pretty bad so I went back to the original points and moved pretty much all of them around to make the cup look good. I then added a texture and made it partially transparent to match to look of a cup. Finally I rendered out an image and saved it.
Salt Shaker
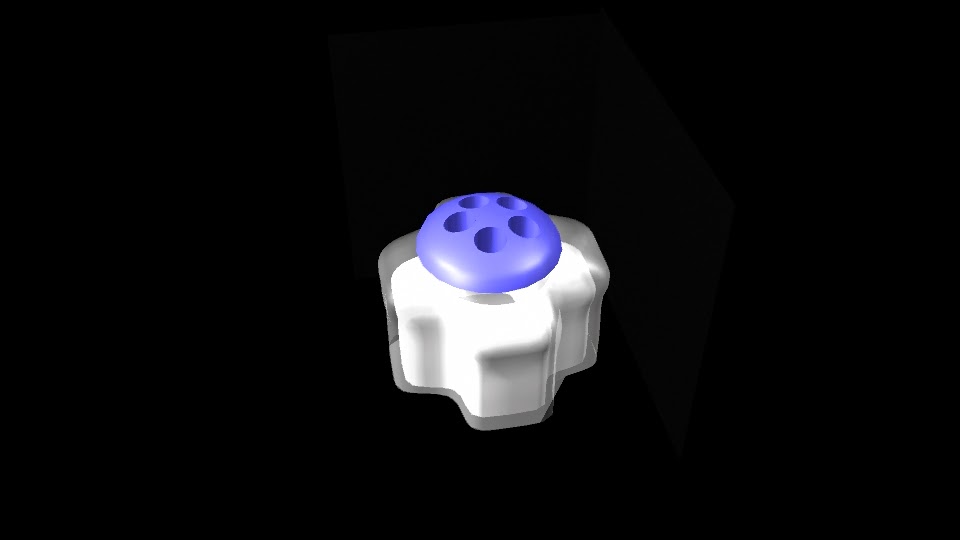 The next project we worked on in class was creating a Saltshaker using a bunch of different tools. We use Nurbs again and created a circle. Then I edited the points into another shape. I then add the outer layer by using the loft button and added a texture. I made it transparent so you could see the salt inside and then duplicated it. I shrunk the duplication so I could make the salt and textured that too. Finally I created a circle and I edited the faces to make the saltshaker appearance on the top. Then I created a square and put the bottom half of the non-edited circle in the square and used bevel, differences. I them applied a texture to that and lined it up with the shaker. Finally I lit the scene and rendered out an image.
 Ice scream, you scream, we all scream for Ice Cream.
Bouncing into focus.
Tuesday, January 27, 2015
Saturday, December 13, 2014
The Start of Something New!
Recently I have been introduced into the complicated and new world of Convergence Journalism. The experience has been interesting and I think it is the complete opposite of what we have been working on all year. The process took a lot longer than I would have thought, but I feel pretty proud in what I created.
The Lego Set
First thing we did was one day we picked up the cameras and just shot someone building a Star Wars lego set. I thought this was interesting because I am used to storyboarding everything before I shoot. This made me a bit unsure of what to get, do I just filmed whatever shots felt like I could use later in editing. I sadly filmed everything in one clip and this made the editing process take a lot longer cause I had to select different sections of the clips to make smaller clips. Another challenge I faced while filming was making the camera steady with only my body, no tripods was allowed during this project. I also struggled with finding a way to incorporate nat noise into my film.
My partner also talked about a bunch of random things while I was trying to get the shots in so I had to cut all of those random thoughts out of my video which took a lot of my shots away. For the editing of the project I mostly spent my time cutting the clips like I mentioned earlier. Then I picked my favorite clips and looked through all my audio to find the sounds I wanted use in my video. Then I wrote a script of what I wanted the audio to be and recorded the voiceovers for my shots. Finally I re-edited my film to match the sound up with the shots I wanted them with. This whole project was really hard for me and it took me longer to edit then I wanted it to.
The Lego Set
First thing we did was one day we picked up the cameras and just shot someone building a Star Wars lego set. I thought this was interesting because I am used to storyboarding everything before I shoot. This made me a bit unsure of what to get, do I just filmed whatever shots felt like I could use later in editing. I sadly filmed everything in one clip and this made the editing process take a lot longer cause I had to select different sections of the clips to make smaller clips. Another challenge I faced while filming was making the camera steady with only my body, no tripods was allowed during this project. I also struggled with finding a way to incorporate nat noise into my film.
My partner also talked about a bunch of random things while I was trying to get the shots in so I had to cut all of those random thoughts out of my video which took a lot of my shots away. For the editing of the project I mostly spent my time cutting the clips like I mentioned earlier. Then I picked my favorite clips and looked through all my audio to find the sounds I wanted use in my video. Then I wrote a script of what I wanted the audio to be and recorded the voiceovers for my shots. Finally I re-edited my film to match the sound up with the shots I wanted them with. This whole project was really hard for me and it took me longer to edit then I wanted it to.
Blood Drive day
The next project I got to film was the annual ONW blood drive which was cool because it was the first project I got to do using students, not just E-comm kids. This also provided a challenge because they answered the questions very close-ended which made the editing process hard because I didn't have much audio that I could use in my film. I then cut out all the audio and clips I couldn't use and put what I wanted into the timeline. Then I cut out all the clips that didn't fit with my theme and wrote the script I wanted to use for this project.
I got to use some new technology when I filmed my voice overs because I had a portable microphone at my house and I used it to film my voice overs directly into Final Cut Pro. Overall that taught me a lot about how to use different kinds of tech. I also learned about story telling and how to get a persons story in. This was a challenge because I figured out that I didn't have enough footage during the editing process and I had to use another groups footage to help my video along. I also ran into trouble when I was told that the person I had filmed wasn't actually eligible to donate. In hindsight I should have filmed two stories just to ensure that I got a person who was eligible to donate. Well you know what they say, Hindsight is always 20/20. Anyway I think this video turned out pretty well and I just wish I had gotten more shots to make it longer and follow a better story.
A struggle that I ran into consistently was my Informal interviews. I feel like that is a skill that I need to improve on. I had a lot of problems getting the people to talk and I also had a problem getting people to answer openly and not just with yes or no answers. I know that I can be an introvert and that I need to work on that skill of mine. Anyway all in all I feel pretty happy with how my projects went and I know the skills I need to improve on for next time.
Subscribe to:
Posts (Atom)